Anyone who wants to try their hand at bushcraft and survivalism must know the importance of fire
Warmth, protection, food and water
in a remote situation, fire can provide us with everything we need to survive, it can keep us warm, it can create what we need to purify water, and it keeps unwanted guests away
Turn it on with minimal effort
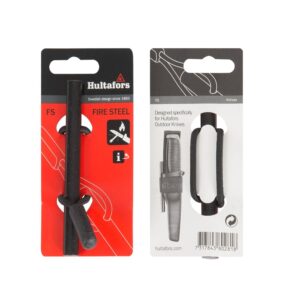
Lighting a fire in a wild context is not a feat, so having the best equipment to achieve the goal will allow you to save important energy.
the Bushcraft Fire
There is not a single Bushcraft fire , but the peculiarity of the bushcraft fire, compared to the classic suvivalist campfire is that it is a multifunctional fire designed to last
the Bushcraft Fire
Fire, especially in Bushcraft, is the father of everything
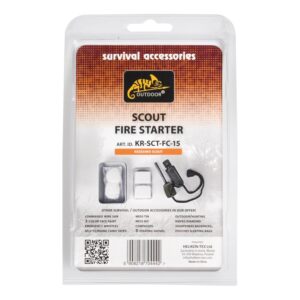
Light up a stack of fire with the Scout fire starter kit Heliko-Tex
Starting with the easiest, we did the first test with theHelikon-tex fire starter kit, a handy kit where we can already find inside a small flintlock, two combustible cubes and a cotton swab Obviously the cotton swab was useful as a trigger, once the cotton was ignited we sent the fire to the flammable cube, after which than to give life to our little fire a stackwas simple, obviously we had already prepared the various layers of fuel, with a good bed made up of dry wood chips
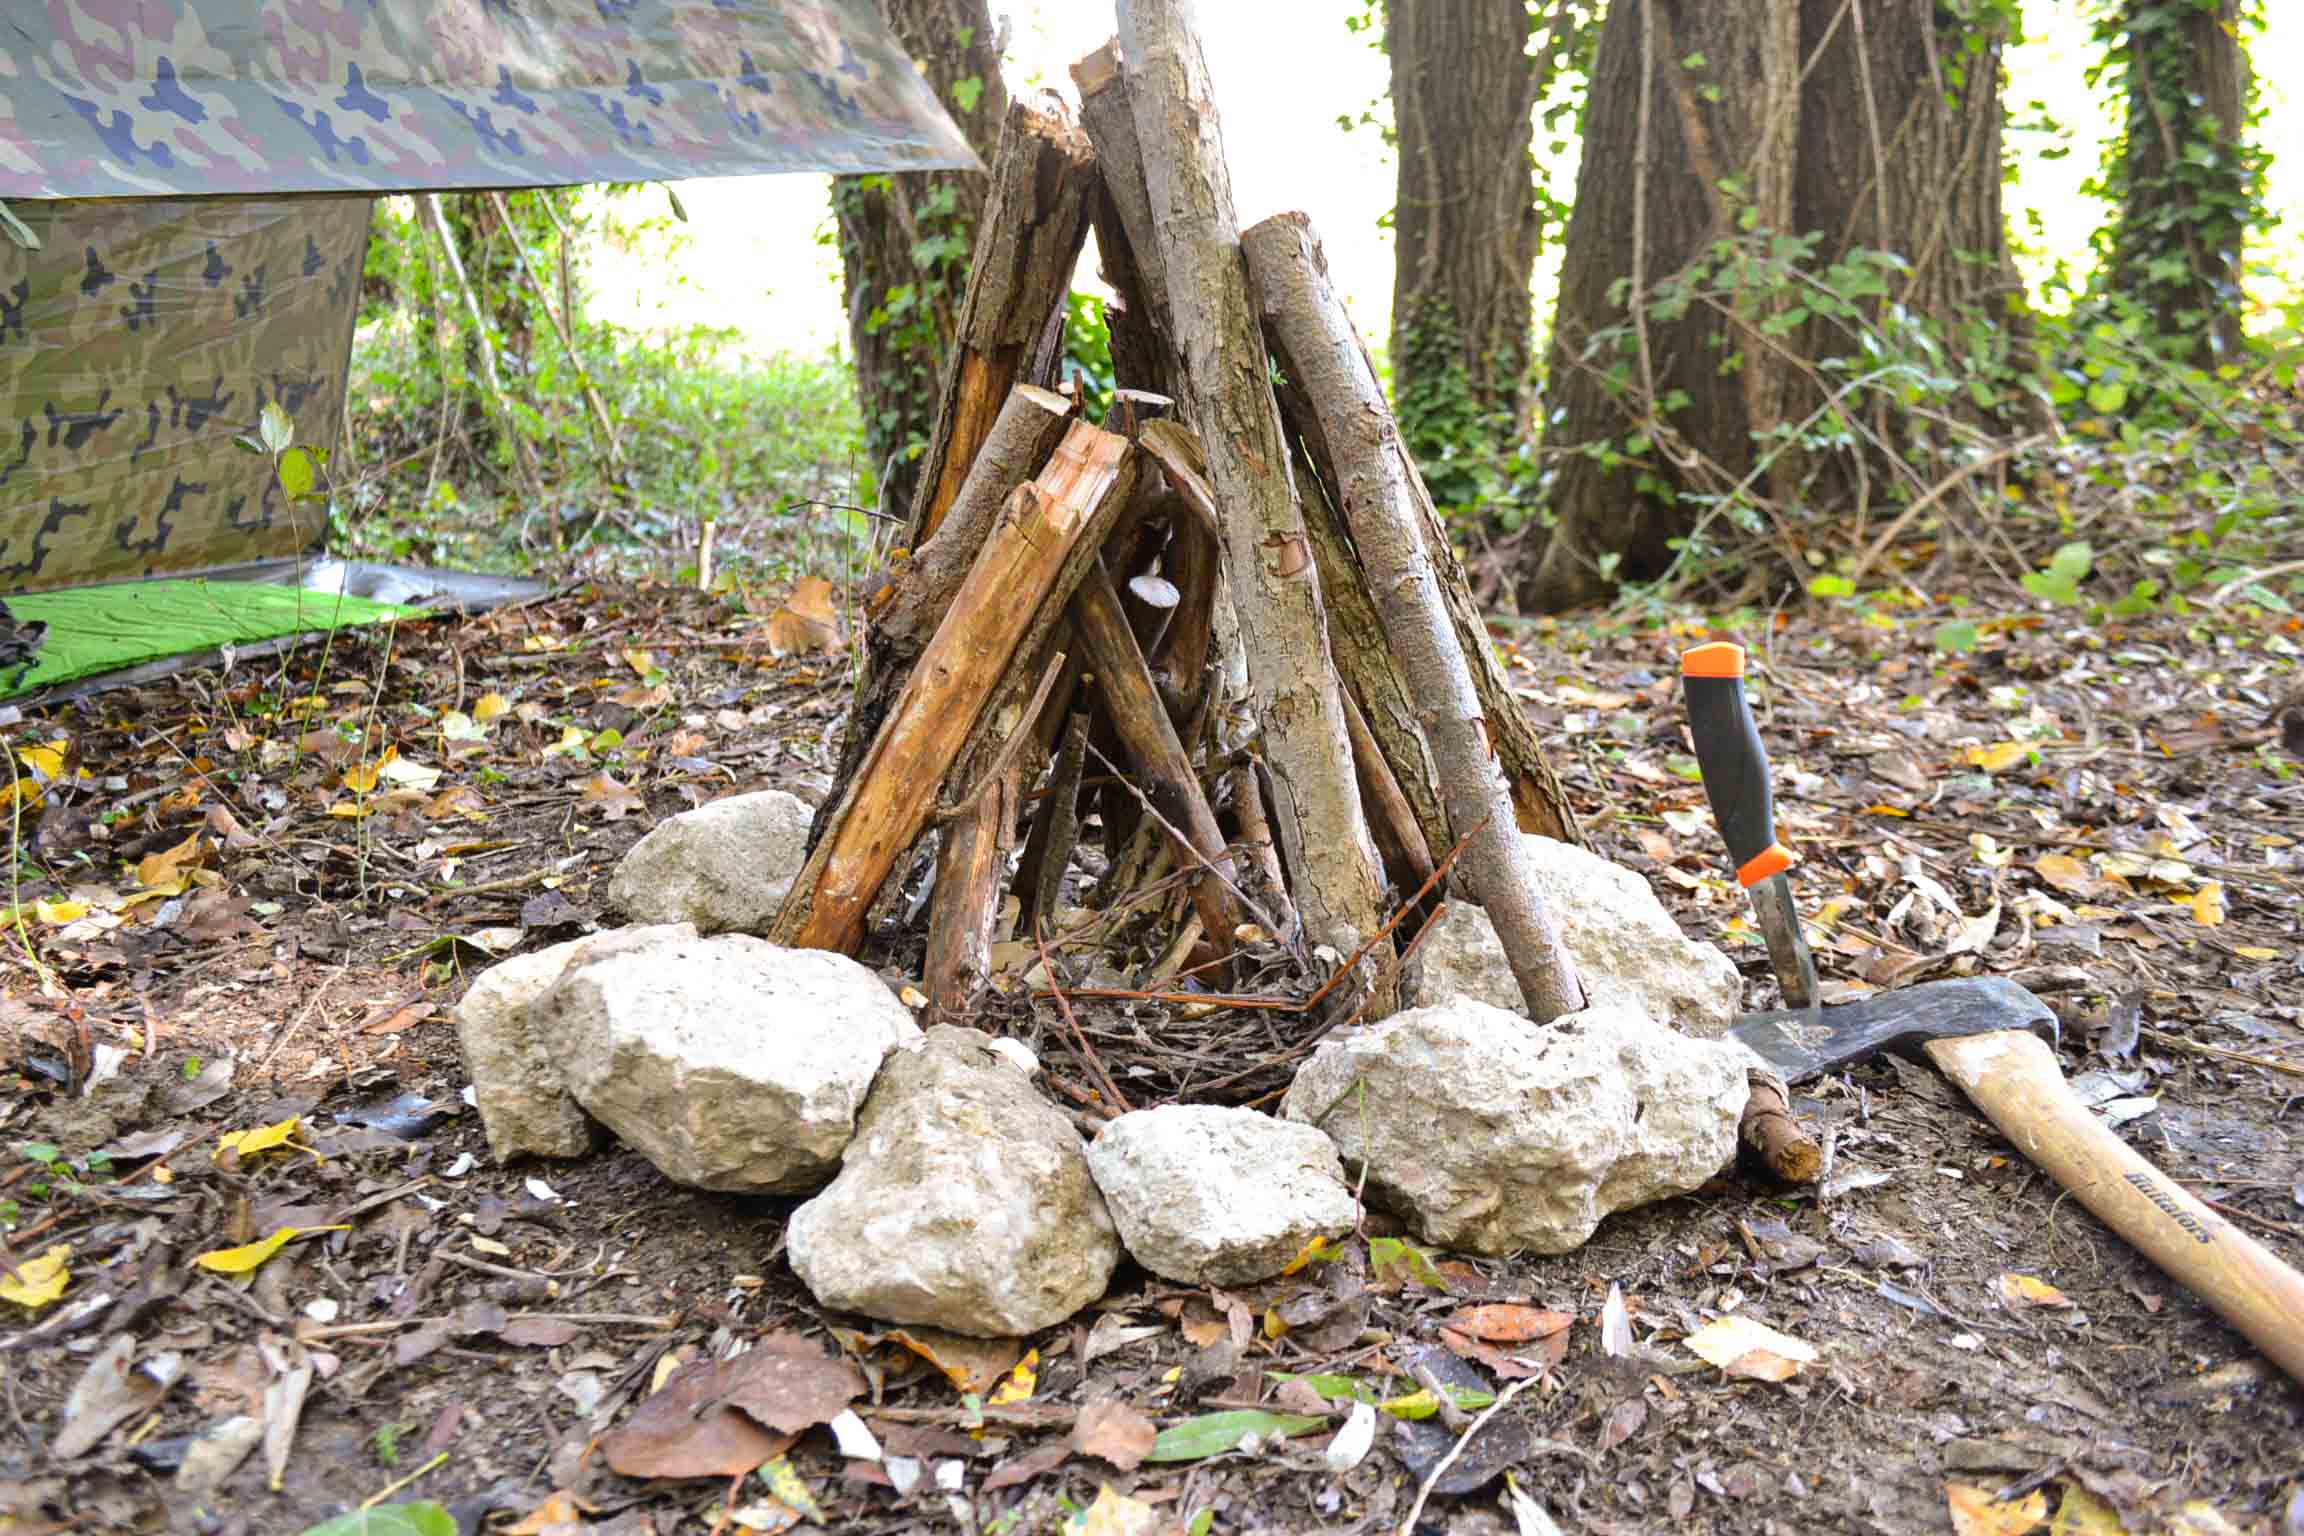
Create a hut fire
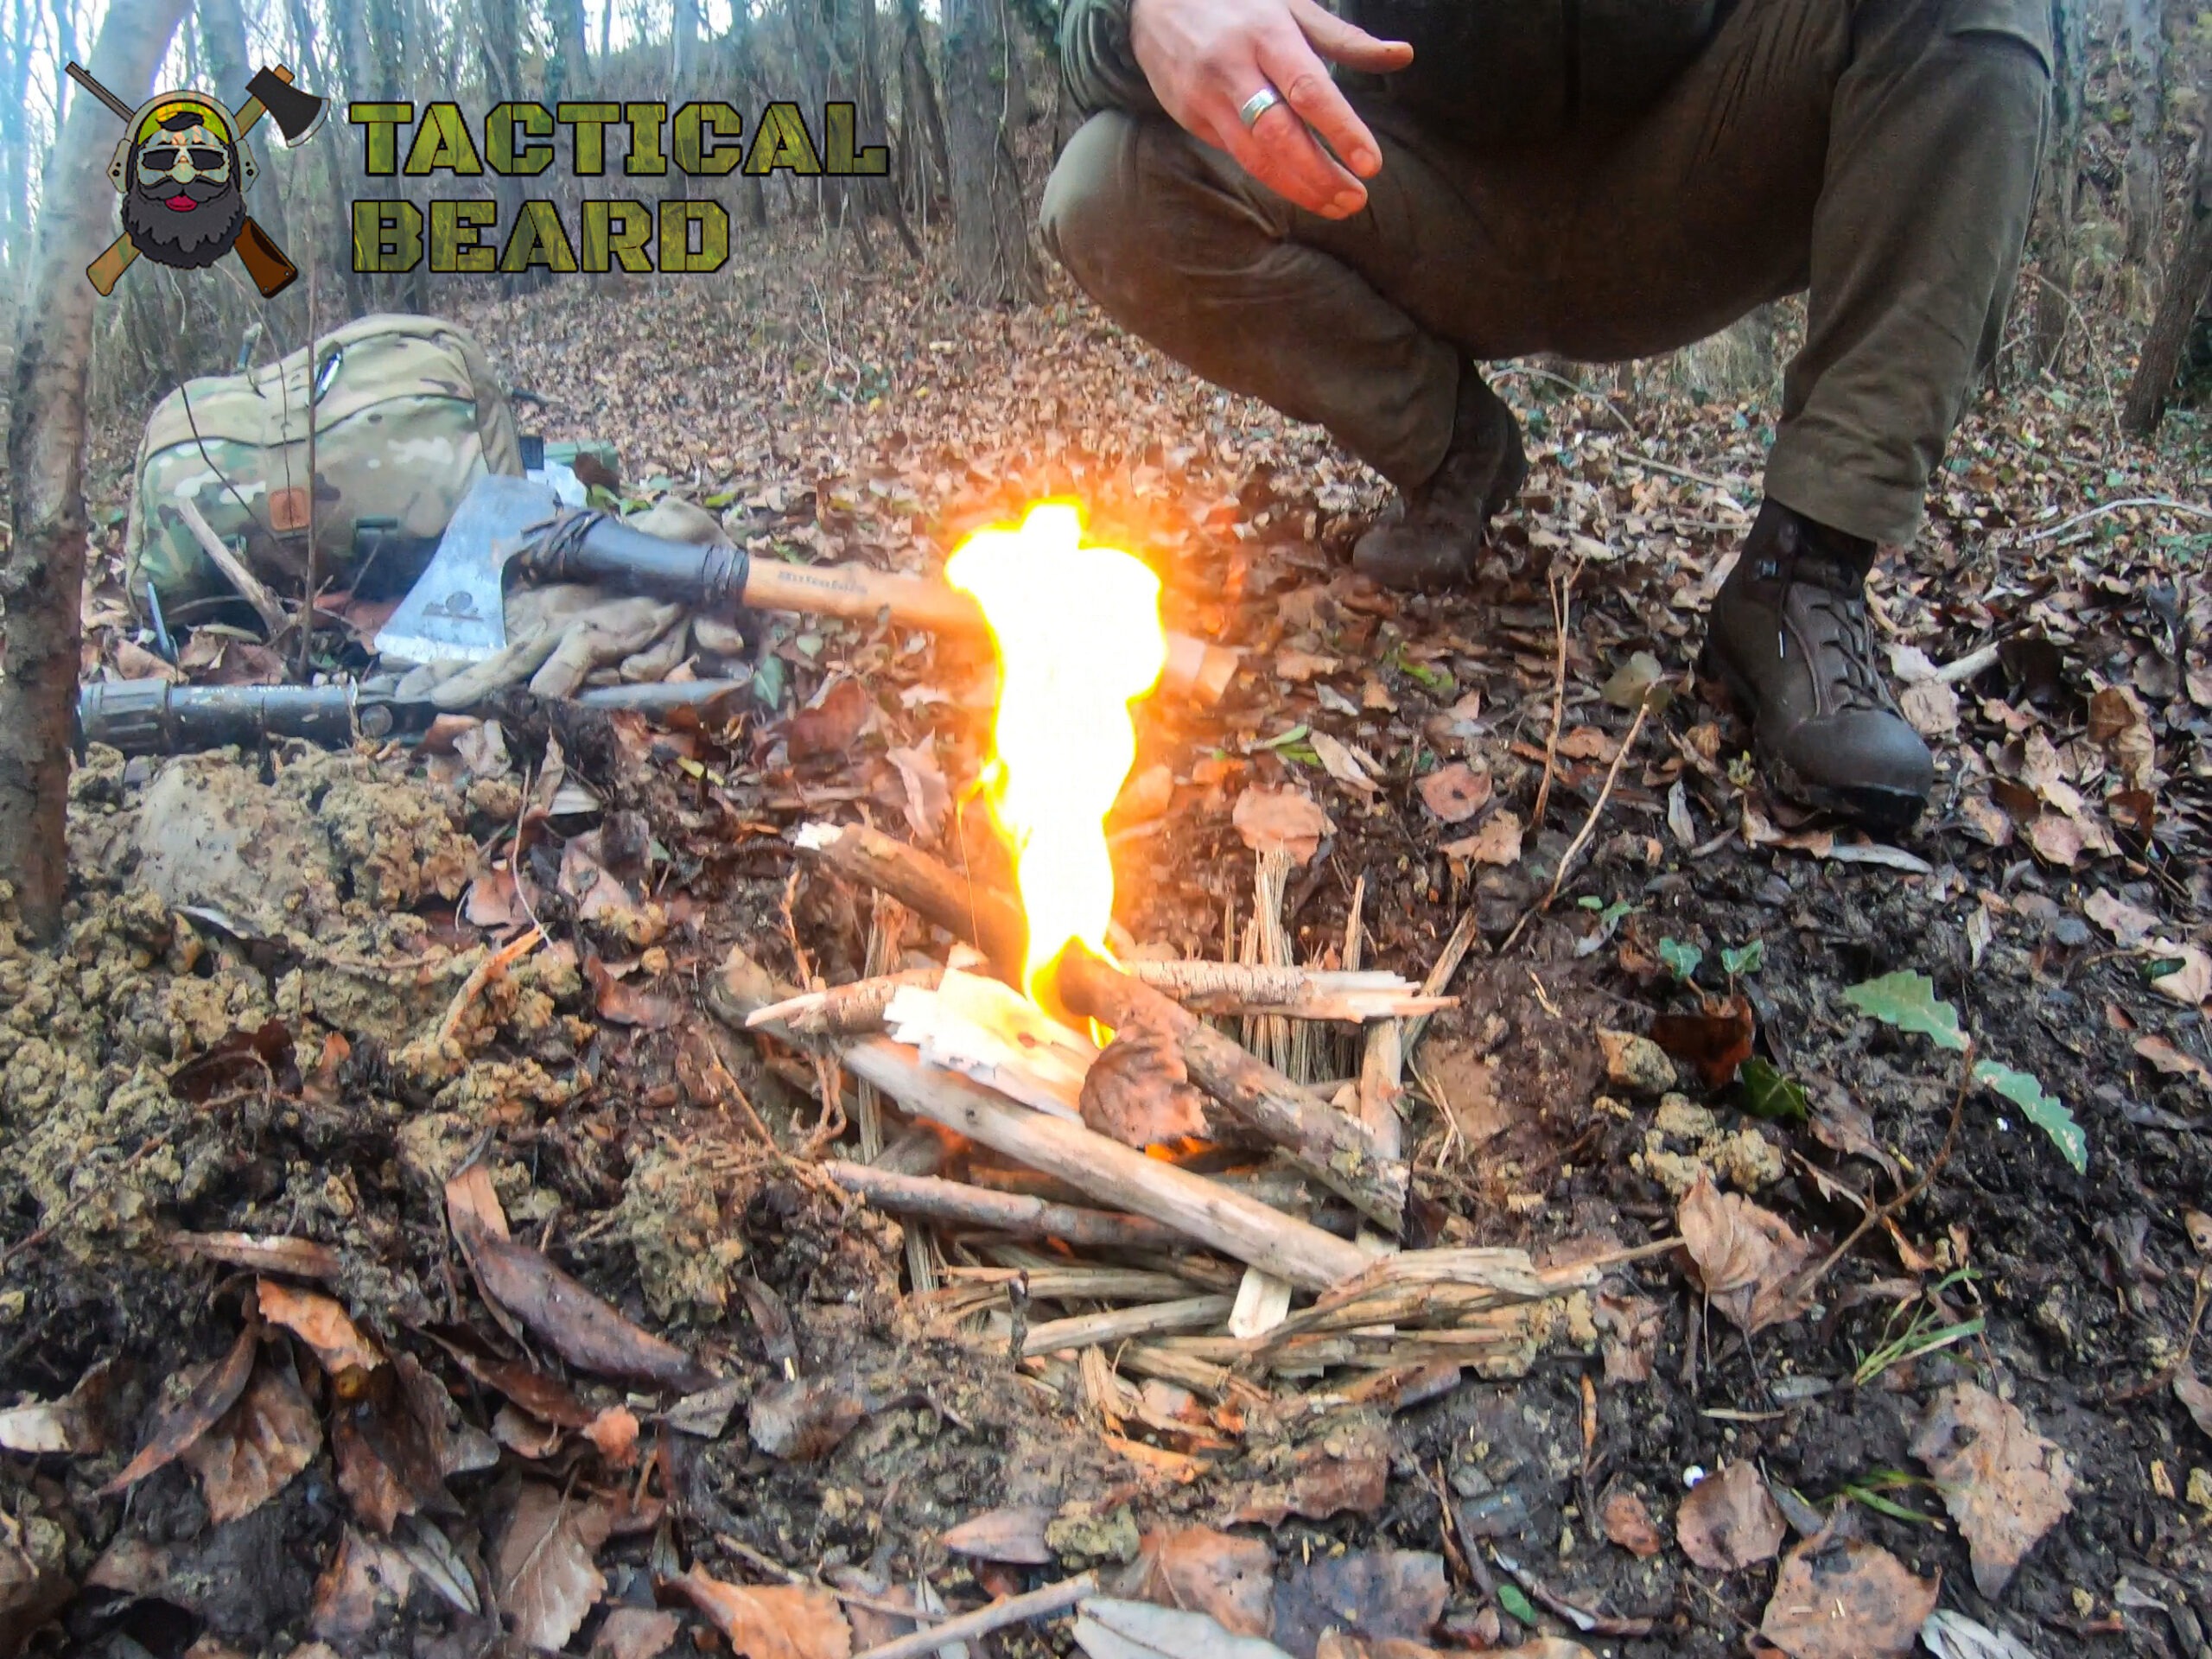
Another method ofstarting a fire it is with the hut positioning, this system is also designed to allow easy ignition of the firebox and continuity in combustion without the need for a continuous supply. The procedure is very simple, first of all the soil is prepared, cleaning and possibly creating a barrier with stones. Then a base is made with small wood, dry wood peel and fuel for starting, after which a first level of small sticks, then you go up with a level of larger sticks and so on until the desired size is formed once started the trigger is inserted inside thehut and the job is done
Dakota Hole Fire
The Dakota Hole fire is a small campfire, designed to minimize the visibility of the flame, the secret consists in digging two holes in the earth, a main one that will act as a brazier and a secondary one, much smaller that will serve as an air intake, the two holes must be joined by an air passage tunnel, in this way you can create a comfortable fire for cooking. which will offer a decent source of heat, with a very low visual impact
Swedish flashlight!
Perfect for cooking the Swedish torch, it is the favorite solution of “Swedish” lumberjacks made with a ski or more easily with a chainsaw, it allows you to create a flames inside a Log, making it easy to place pans for cooking or boiling.
Create a fire with a half hole and makeshift cover
A nice and improvised rain cover, and a fire that half a hole and a small air intake is a good way to light a campfire in adverse weather conditions , the more the wind will be powerful and the deeper the hole will have to be, remember to create an air tunnel and lay the first layer of wood in a grid, otherwise starting the combustion will be a difficult test
"Haha, look what I created! the
I made the fire! I did the
fire!"
We have tested the Helikont Scout fire start for you
Istruzioni per le taglie Vorremmo assicurarci che l’abbigliamento che acquisti sia davvero adatto a te, affinché possano svolgere correttamente il loro scopo. Ti preghiamo di investire un momento del tuo tempo per consultare la guida alle misure e la tabella delle dimensioni corrispondenti per evitare errori. Per prendere la giusta misura, prova gli abiti che ti stanno bene e misura.
Il petto Prova gli abiti e appoggiali su una superficie piana. Misura dal bordo sinistro al bordo destro appena sotto le maniche.
Vita Prova gli abiti e appoggiali su una superficie piana. Misura dal bordo sinistro al bordo destro in vita.
Lunghezza manica Indossa una camicia che ti piace, misura con un braccio al fianco, dalla cucitura della spalla lungo tutto il braccio fino a trovare la lunghezza desiderata. Si consiglia di posizionare la manica alla base del pollice (situata sull’articolazione del polso). Nelle giacche con maniche raglan, come Stratus® o Cumulus®, le misure delle maniche devono essere prese dalla base del colletto fino al polsino della manica.
Cinta Appoggia i pantaloni su una superficie piana. Misura la distanza del bordo interno dal cavallo, dove si incontrano le cuciture anteriore e posteriore, sul fondo della gamba.
Lunghezza dei pantaloni Stendi i pantaloni su una superficie piana con i bordi esterni su entrambi i bordi. Fare attenzione a rimuovere eventuali rughe e pienezza dal pannello posteriore. Misura la distanza dalla parte superiore della cintura alla parte inferiore dell’orlo.
Per le gonne Appoggia la gonna piatta più adatta alla tua taglia con le cuciture laterali rivolte verso l’alto. Usa la mano per appiattire / raddrizzare le rughe sul tessuto. Quindi misurare la distanza tra il punto del bordo superiore e il punto del bordo inferiore. Per ottenere il risultato più accurato dovresti misurarlo lungo le cuciture laterali.
Girovita Appoggia la gonna piatta più adatta alla tua taglia con la cerniera frontale rivolta verso l’alto. Usa la mano per appiattire / raddrizzare le rughe sul tessuto. Misurare la parte superiore della gonna (la linea di cintura) a partire da un bordo laterale verso il lato opposto. Quindi, raddoppia il risultato per ottenere la circonferenza della vita.
Circonferenza fianchi Appoggia la gonna piatta più adatta alla tua taglia con la cerniera frontale rivolta verso l’alto. Usa la mano per appiattire / raddrizzare le rughe sul tessuto. Quindi misurare la distanza tra i punti laterali opposti sulla parte dell’anca (a seconda del taglio della gonna, i fianchi dovrebbero essere di circa 11-14 cm sotto il bordo superiore della gonna). Raddoppia il risultato per ottenere la circonferenza dei fianchi. La tolleranza per le dimensioni indicate nella tabella è di +/- 2 cm (vale solo per l’abbigliamento).


